Introduction
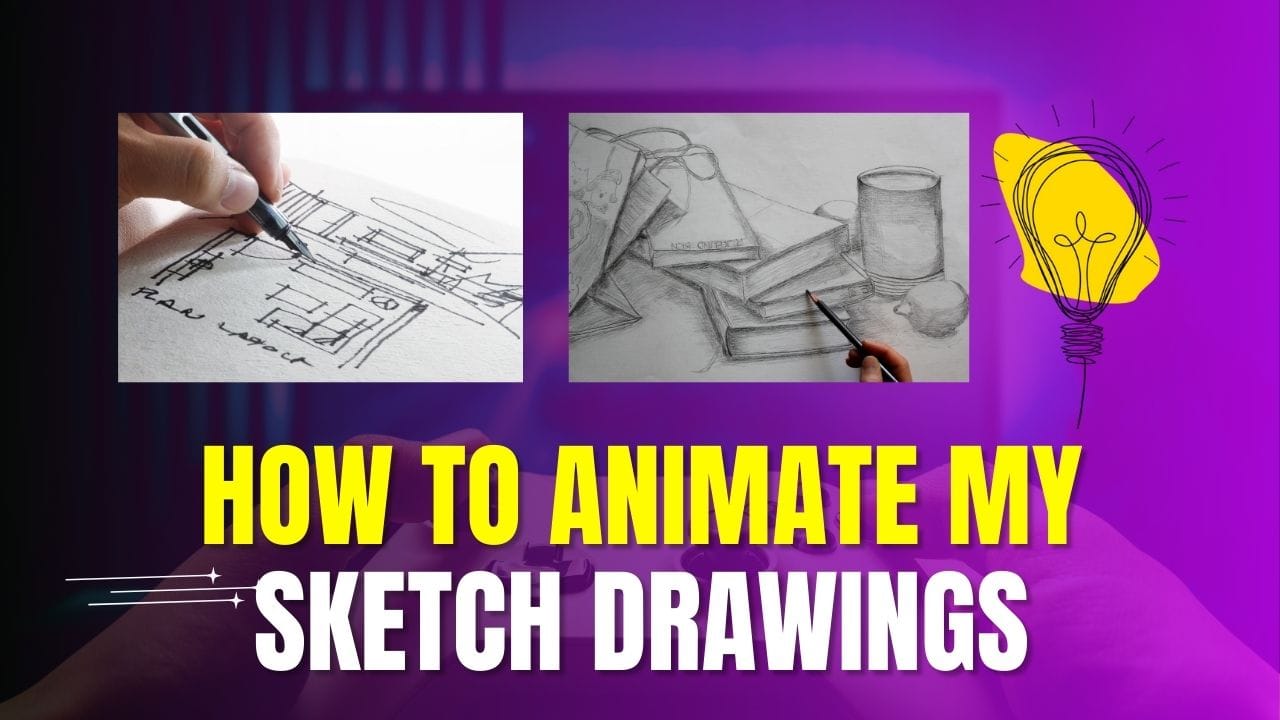
How to Animate My Sketch Drawings – Ever looked at your sketches and wished they could move? Animation brings static drawings to life, making them more engaging and expressive. Whether you’re an artist, a storyteller, or just someone who loves creativity, learning how to animate your sketches can open up a whole new world of possibilities. In this guide, we’ll walk you through the process step by step!
Understanding the Basics of Animation
Before diving in, let’s go over the basics. Animation is the illusion of movement created by displaying a series of drawings in rapid succession. There are several techniques, including:
- Traditional animation (hand-drawn frame by frame)
- 2D digital animation (using software like Adobe Animate or Krita)
- Stop motion (using real objects and capturing frame-by-frame motion)
- 3D animation (using CGI and complex modeling software)
For sketch animation, we’ll mostly focus on traditional and digital 2D techniques.
Choosing the Right Tools for Animation
Your choice of tools depends on whether you want to animate traditionally or digitally. Some great software options include:
- Adobe Animate – A professional tool for 2D animation
- Toon Boom Harmony – Great for detailed hand-drawn animation
- Krita – Free and open-source software for frame-by-frame animation
- Procreate (with Animation Assist) – Best for iPad users
Preparing Your Sketches for Animation
Cleaning Up Your Sketches
Before animating, ensure your sketches are clean and refined. You can use a lightbox or a digital tablet to trace over rough lines.
Digitizing Your Sketches
If you’ve drawn your sketches on paper, scan or photograph them at high resolution. Convert them into PNG or PSD files for easy manipulation in animation software.

Frame-by-Frame Animation
Frame-by-frame animation involves drawing each movement separately. The key is to keep changes between frames small to create smooth motion. Use onion skinning (a tool that lets you see previous frames as faint outlines) to ensure fluidity.
Using Keyframes and Tweening
Keyframes mark the start and end of an animation sequence. Tweening (in-betweening) fills in the motion between keyframes, making movement more natural. Digital tools like Adobe Animate automate tweening, saving time.
Adding Motion to Your Sketches
Great animation follows principles like:
- Squash and stretch (to exaggerate movement)
- Anticipation (preparing for action)
- Follow-through (continuing motion naturally)
Exporting and Sharing Your Animation
Once your animation is ready, export it in GIF, MP4, or MOV format. Platforms like Instagram, TikTok, and YouTube are great for sharing animated sketches with the world!
Conclusion
Animating sketches is easier than ever with digital tools. Whether you’re doing frame-by-frame animation or using software-based shortcuts, the key is to practice and experiment. Start with simple movements and gradually build up to complex animations. Happy animating!

FAQs
1. What is the easiest way to animate a sketch?
Using digital software like Procreate or Krita allows for simple frame-by-frame animation with ease.
2. Do I need a graphics tablet for animation?
A tablet makes digital animation easier, but you can also use a mouse or scan hand-drawn sketches.
3. How many frames per second should I use?
12-24 frames per second (FPS) is standard for smooth animations. Lower FPS gives a choppy effect.
4. Can I animate without any prior experience?
Yes! Start with basic movements and experiment with simple tools before advancing to complex animations.
5. Which software is best for beginners?
Krita, Procreate, and Adobe Animate are beginner-friendly animation tools.