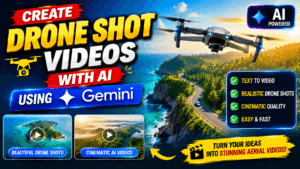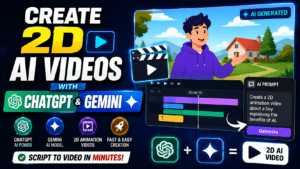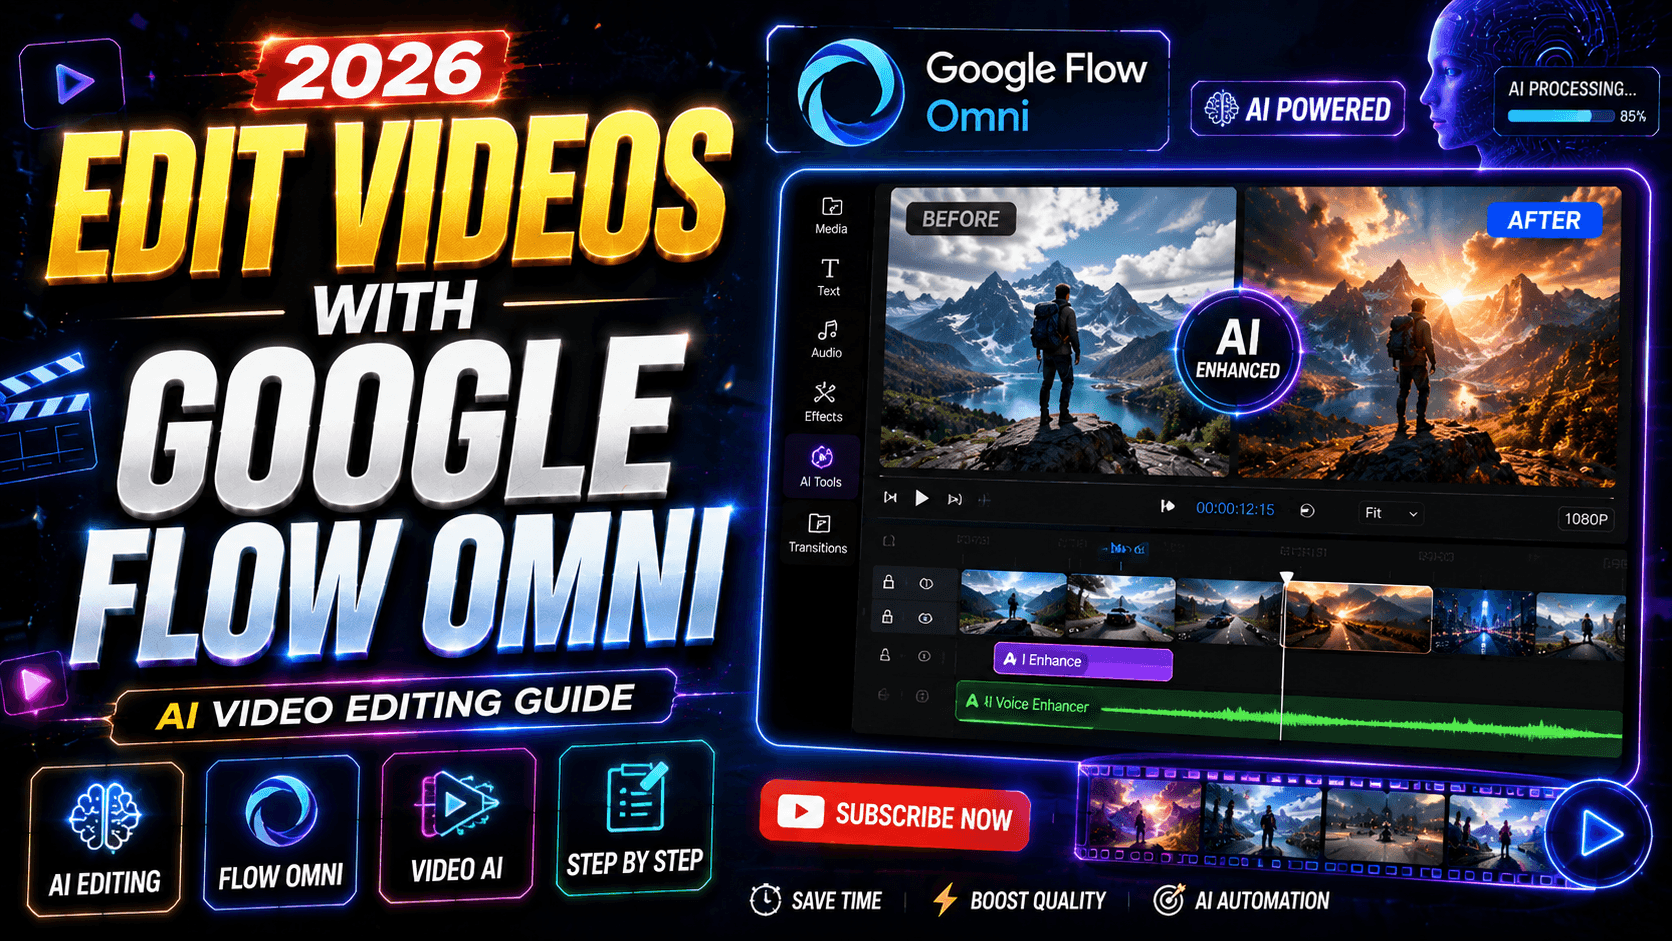
Artificial intelligence is changing video production faster than most creators imagined. What once required hours inside complicated editing software can now be accomplished through simple conversations with AI. Google has entered this space aggressively with Google Flow and its latest breakthrough, Gemini Omni Flash, a multimodal AI model designed to create and edit videos through natural language instructions. Instead of learning timelines, keyframes, masking tools, and dozens of editing shortcuts, creators can simply tell the AI what they want. The model understands text, images, audio, and video references and applies edits while maintaining consistency across scenes. According to Google’s recent announcements, Gemini Omni Flash is available within Google Flow and focuses heavily on conversational editing, multimodal understanding, and scene continuity. This represents a major shift from traditional editing workflows toward AI-assisted creative production. Whether you’re a YouTuber, marketer, filmmaker, or social media creator, learning how to use Google Flow Omni can dramatically speed up your content creation process.
What is Gemini Omni Model?
Gemini Omni is Google’s most powerful multimodal AI model. Unlike other AI tools that can only generate or only edit video, Gemini Omni can understand, generate, AND modify video — all from a single prompt.
What makes it special:
- Adds captions automatically from your prompt
- Applies transitions between clips
- Adds sound effects (SFX) and background music
- Understands context — not just commands
- Works with your uploaded footage
The 3-Step Workflow
This is the exact process to edit any video using Gemini AI — from raw footage to polished reel.
Step 1 — Write Your Prompt
Before uploading anything, describe what you want in the final video. Use ChatGPT, Claude, or any LLM to help you write a clear, detailed prompt.
Your prompt should include:
- What the video is about (topic/concept)
- What edits you want (cuts, transitions, pace)
- Caption style (font, placement, tone)
- Sound direction (SFX, music mood, voiceover)
- Any specific visual style or branding
💡 Pro Tip: The more specific your prompt, the better the output. Treat Gemini like a video editor — tell it exactly what you want.
Step 2 — Upload Your Video
After your prompt is ready, upload your raw footage directly to Gemini. The model analyzes the full video before applying any edits.
Supported formats:

- MP4 (recommended)
- MOV
- AVI
- WebM
⚠️ Note: File size limits may apply depending on your Gemini plan (free vs paid). For longer videos, compress before uploading.
Step 3 — Paste Reference (Optional but Powerful)
If you want a specific editing style, you can paste a reference video URL or describe an existing video’s style. Gemini will mimic the pacing, transitions, and aesthetic of your reference.
What you can reference:
- A YouTube reel with similar editing style
- An Instagram reel with the pacing you like
- A competitor’s video for style inspiration
- A brand’s official video for tone/feel
What Gemini Can Add to Your Video
Auto Captions
Gemini can generate and style captions from your spoken content or from your prompt. Specify font size, color, position, and animation style in your prompt.
Transitions
Cut, fade, zoom, whip pan — describe the transition style and Gemini applies it between your clips automatically.
Sound Effects (SFX)
Gemini can add contextually relevant sound effects based on what’s happening in the video — whoosh sounds, impact hits, ambient noise, etc.
Background Music
Specify the mood (energetic, calm, cinematic) and Gemini selects or generates fitting background music.
Sample Prompt Template
Copy and customize this prompt template for your next video:
"Edit this video about [TOPIC]. Add bold white captions at the bottom of the screen. Use fast cuts every 2-3 seconds. Add a whoosh SFX on every cut. Background music should be upbeat and energetic. End with a zoom-out transition. Style reference: [PASTE YOUTUBE/INSTAGRAM URL]."
Quick Tips for Best Results
- Always write your prompt BEFORE uploading — don’t improvise
- Keep raw footage clean (no existing music/captions if possible)
- Be specific about timing — ‘2-second transitions’ beats ‘fast transitions’
- Test with a 30-second clip first before running on full video
- Iterate — if output isn’t right, refine your prompt and re-run
- Use Hinglish in captions prompt if your audience is Indian
Prompt Used in Video
Transform this raw talking-head video into a premium, viral-quality social media reel with high-retention editing, cinematic motion graphics, and modern creator-style visuals. Keep the original speaker, original audio, and original shirt color completely unchanged — do not alter, recolor, or modify the subject's appearance, clothing, or skin tone in any way. Preserve the exact video footage as-is and only add editing layers on top.

Generate accurate subtitles directly from the spoken audio. The speaker is speaking in Tenglish, so subtitles must match exactly what is being said in the video — word for word, in the same Telugo Roman style as spoken. Written entirely in English characters (ABC format only). Never convert subtitles into Telugu Roman style script . Never paraphrase or rewrite the spoken words.

Caption design should be a major visual element, not simple subtitles. Use bold cinematic typography where important words become oversized design elements on screen. Create layered text compositions with foreground and background typography. Key phrases can appear behind the speaker, partially masked by the subject, creating depth and a premium 3D look.

Typography Style: Large editorial fonts, luxury cinematic typography, mixed font weights, layered text compositions, kinetic typography, motion-tracked text, depth and parallax effects, premium 3D text treatments.

Color Style: Extract colors directly from the video footage and build the entire typography and graphic palette around the scene. Use the red tones visible on the shirt logo as the primary accent color. Build red-based gradients blending with orange, crimson, burgundy, dark cherry, and warm highlights. All text colors must feel naturally integrated into the video's existing color palette. Important keywords should have unique gradient treatments and premium glow effects that complement — not clash with — the actual footage colors.

Whenever the speaker makes a strong point, create huge cinematic text moments, let key words dominate the screen, use layered typography behind the speaker, add scale animations, depth, shadows, lighting effects, and subtle motion.

Add dynamic zoom-ins, punch-ins, reframing, speed ramps, motion blur transitions, and seamless camera movement. Add relevant B-roll, graphics, UI animations, visual metaphors, icons, callouts, motion graphics, and overlay effects to support the spoken content visually.

Improve color grading, contrast, exposure, subject separation, and overall cinematic polish without changing the subject's natural appearance or clothing color.

Add professional sound design including whooshes, impacts, swipes, clicks, risers, transition sounds, and subtle cinematic audio enhancement — all synced to the original spoken audio.

Maintain fast pacing with meaningful visual changes every few seconds to maximize retention.

The final output should feel like a premium reel edited by a top-tier content agency, with typography and captions acting as a central visual storytelling element. I am also sharing a font style reference — match the typography aesthetic to that reference.


make sure to follow the same hand motion and gesture as uploaded video, audio and lipsync also remain similar to raw video
Future of AI Video Editing
AI-powered video production is evolving rapidly. Google’s investment in conversational editing suggests a future where creators spend less time managing technical details and more time focusing on ideas. As models become more capable, we can expect longer videos, improved consistency, richer storytelling tools, and deeper integration between text, audio, images, and video.

The shift resembles the evolution from coding websites manually to using visual website builders. Technical expertise remains valuable, but accessibility expands dramatically. Video creation is following a similar trajectory, and Google Flow Omni represents one of the most significant steps in that direction.
Conclusion
Google Flow Omni is transforming video editing by replacing complicated software workflows with conversational AI. Through Gemini Omni Flash, creators can upload videos, describe desired changes, and iteratively refine content using natural language. Features such as multimodal input support, character consistency, scene memory, and AI-assisted storytelling make the platform one of the most exciting developments in modern content creation. Whether you’re producing YouTube videos, marketing campaigns, educational content, or cinematic projects, learning how to use Google Flow Omni can significantly reduce production time while expanding creative possibilities. As AI continues advancing, tools like Flow are likely to become essential components of the digital creator toolkit.
FAQs
1. What is Google Flow Omni?
Google Flow Omni is an AI-powered video creation and editing system powered by Gemini Omni Flash, allowing users to edit videos through natural language instructions.
2. Can Google Flow edit existing videos?
Yes. Users can upload existing videos and apply modifications using conversational prompts.
3. Does Omni support image and audio references?
Yes. Gemini Omni Flash supports text, images, audio, and video inputs for editing and generation.
4. Is Google Flow suitable for beginners?
Absolutely. Its conversational workflow makes video editing significantly easier compared to traditional software.
5. Can Google Flow replace professional editing software?
For many tasks it can accelerate workflows dramatically, though professional editors may still prefer traditional tools for highly detailed frame-level control.