Introduction
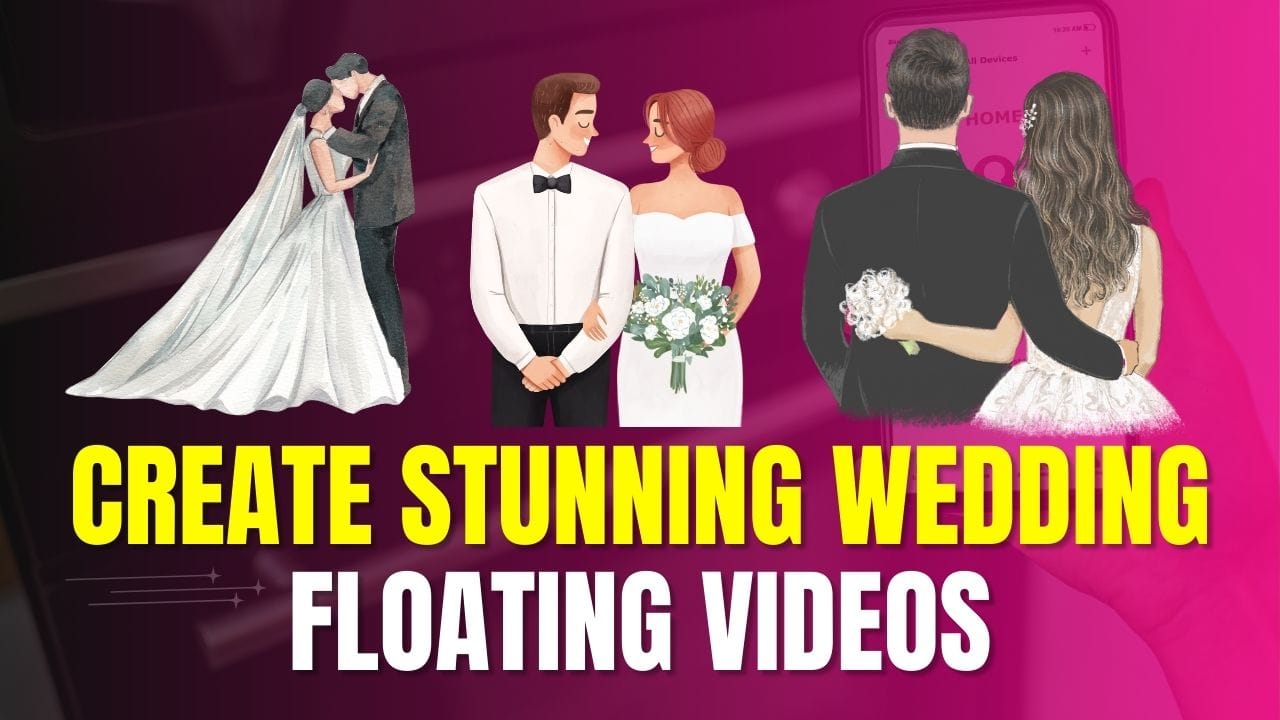
Create Stunning Wedding Floating Videos – Weddings are magical events, filled with emotions, love, and unforgettable moments. Capturing these moments uniquely can make all the difference. One of the latest trends in wedding videography is floating videos, which create a surreal, dreamlike effect that makes memories even more special. If you’re wondering how to create wedding floating videos, this guide will walk you through the entire process step by step.
1. What Are Wedding Floating Videos?
Wedding floating videos are cinematic clips that give the illusion of subjects moving gracefully as if they are weightless. This is achieved using special filming techniques and post-production effects that enhance smooth motion and dreamy visuals.
2. Why Are Floating Videos Trending?
- Creates a magical, fairytale-like effect
- Adds elegance and sophistication to wedding memories
- Enhances the emotional appeal of the footage
- Perfect for social media and wedding reels
3. Essential Equipment for Floating Videos
To capture the perfect floating wedding video, you need the right tools. Here’s what you’ll need:
- Camera: A high-resolution DSLR or mirrorless camera
- Stabilizer/Gimbal: Essential for smooth movements
- Tripod: For steady shots
- Drone: To add aerial floating effects
- Lighting Equipment: Ensures perfect exposure
- Editing Software: For post-production magic
4. Choosing the Right Location
- Pick scenic locations with minimal background distractions
- Consider natural landscapes, gardens, or elegant wedding venues
- Ensure proper lighting conditions for the best visual effect
5. Setting Up the Perfect Lighting
- Use golden hour (sunrise/sunset) for soft, warm tones
- Avoid harsh direct sunlight
- Utilize artificial lighting for indoor shoots
- Experiment with backlighting for a dramatic effect
6. Selecting the Best Angles for Shooting
- Low-angle shots for a floating illusion
- Slow panning shots for cinematic movement
- Overhead drone shots for breathtaking aerial views
- Close-up shots to capture intimate moments
7. Using a Gimbal for Smooth Footage
A gimbal is crucial for achieving the floating effect. It stabilizes the camera and allows fluid movements, making subjects appear to glide effortlessly.

8. Editing Techniques to Achieve a Floating Effect
- Slow-motion effects to enhance elegance
- Motion blur for dreamlike transitions
- Speed ramping for smooth acceleration and deceleration
- Layering clips to create a surreal atmosphere
9. Best Software for Video Editing
- Adobe Premiere Pro (Professional-level editing)
- Final Cut Pro (Great for Mac users)
- DaVinci Resolve (Best for color grading)
- CapCut or InShot (For quick mobile edits)
10. Adding Music to Enhance Emotion
- Choose soft, romantic tunes
- Sync transitions with beats
- Use instrumental versions to avoid distractions
11. Color Grading for a Cinematic Look
- Adjust brightness and contrast for depth
- Use pastel or warm tones for a romantic feel
- Apply filters for consistency across clips
12. Common Mistakes to Avoid
- Overusing slow motion, making clips feel unnatural
- Poor lighting that ruins the dreamy effect
- Excessive camera movement causing distractions
- Forgetting to stabilize shots, leading to shaky footage
13. Tips for Making Your Videos Stand Out
- Use storytelling techniques for emotional impact
- Add personal touches, like voiceovers from the couple
- Experiment with different angles and compositions
- Maintain a balance between cinematic and natural shots
14. Sharing and Promoting Your Wedding Floating Videos
- Upload on YouTube, Instagram, and TikTok
- Use wedding-related hashtags for better reach
- Share in wedding photography and videography groups
- Create teaser clips to generate excitement
15. Final Thoughts
Creating wedding floating videos requires a mix of creativity, the right equipment, and post-production skills. When done right, these videos can turn wedding memories into breathtaking cinematic experiences. Whether you’re a professional videographer or a couple looking to capture their special day uniquely, following these steps will help you achieve stunning results.
FAQs
1. Can I create floating videos with a smartphone?
Yes! Many modern smartphones have excellent stabilization features. Using a gimbal and editing apps can help achieve a floating effect.
2. How long does it take to edit a wedding floating video?
Editing time varies but usually takes anywhere from 5-15 hours, depending on the complexity of effects and transitions.

3. What is the best frame rate for floating videos?
Filming at 60fps or higher helps create smooth slow-motion effects.
4. Can I add floating effects without a gimbal?
Yes, but it’s challenging. You can use post-production software to stabilize footage, but using a gimbal produces better results.
5. Is it expensive to create wedding floating videos?
It depends on your equipment. You can start with a smartphone and editing apps, but professional cameras and gimbals will improve quality.